Do you have a room in your house you have left undecorated because you just couldn’t get inspired? Maybe you just felt like there was too much to do and didn’t know where to start? I have lived in my house for 3 years and could not figure out how to update this bathroom . I wanted it to be warm, functional and chic but also it needed to funcion for my 5 year old. I decided to break it out into steps and it actually made it so much easier to accomplish! I’ll share my steps for you below and I want you to remember that I am NOT a plumber, nor an expert woodworker or anything. lol I am just a 35 year old chick who is real good at using google and let me tell ya, the school of YouTube can teach you anything. I did all of these updates myself i made sure there is no painting, heavy power tools (besides a drill) because if it is too much of a process I know I will just get overwhelmed! Can I get an AMEN?!
Step 1: Accent Wall
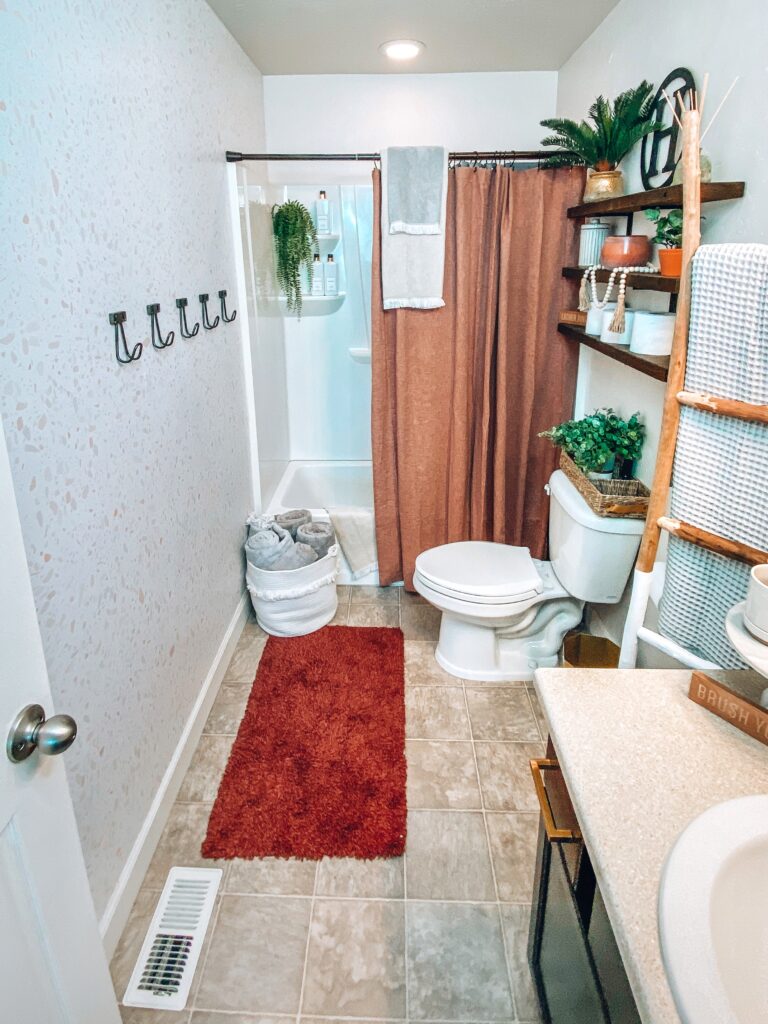
Our bathroom was all one color and I was really stubborn about painting. I didn’t want the mess and I can never make up my mind about paint colors. So I looked for options that would not only brighten up my space but add some character. I first purchased some peel and stick wallpaper from Target to try, and it was a nightmare. I spent over an hour trying to get the first panel up and it ripped bubbled and stretched. I trashed it and went back to the drawing board. I was looking at reviews online and found that WallBlush had great reviews and some gorgeous damage free peel and stick wallpapers. So I decided to give them a try! Oh my gosh, what a difference! I got my entire wall done in almost the same time it took me to put up the first panel of the store bought version. Good news, WallBlush gave me a discount code for you CLICK HERE to save 15% off your order. I went with the ‘Earthy Terrazzo’ paper from ‘The Minty Line’ I loved that it tied in my warm earth tone color pallet and brightened up my space!
Step 2: Upgrade Faucet
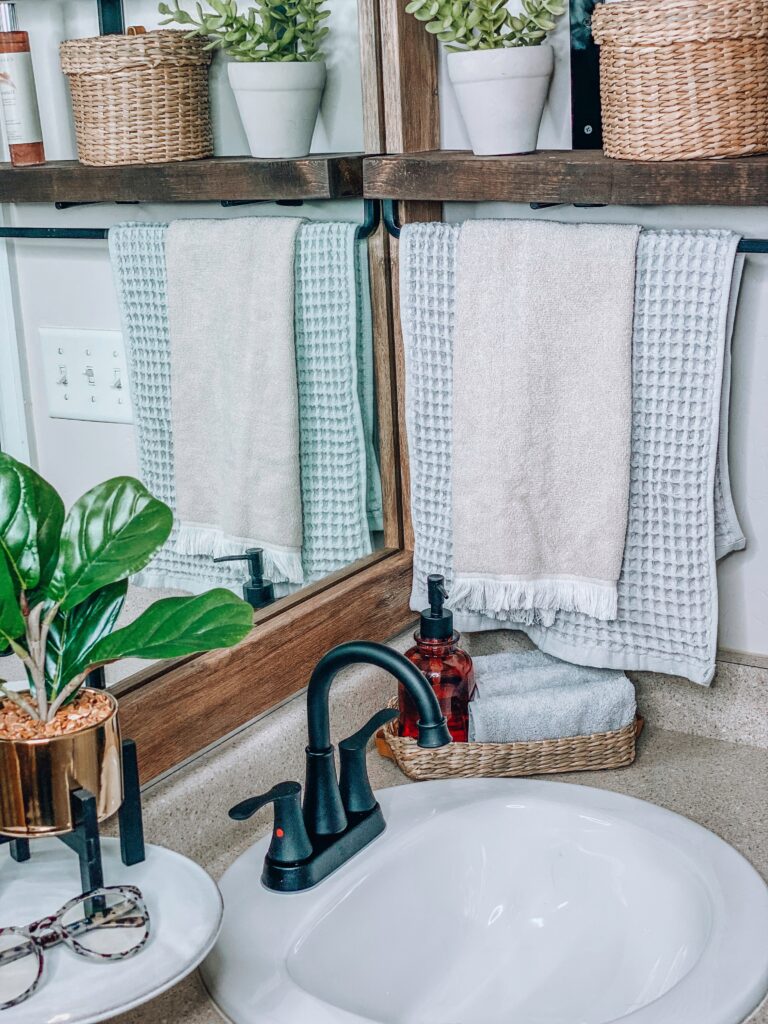
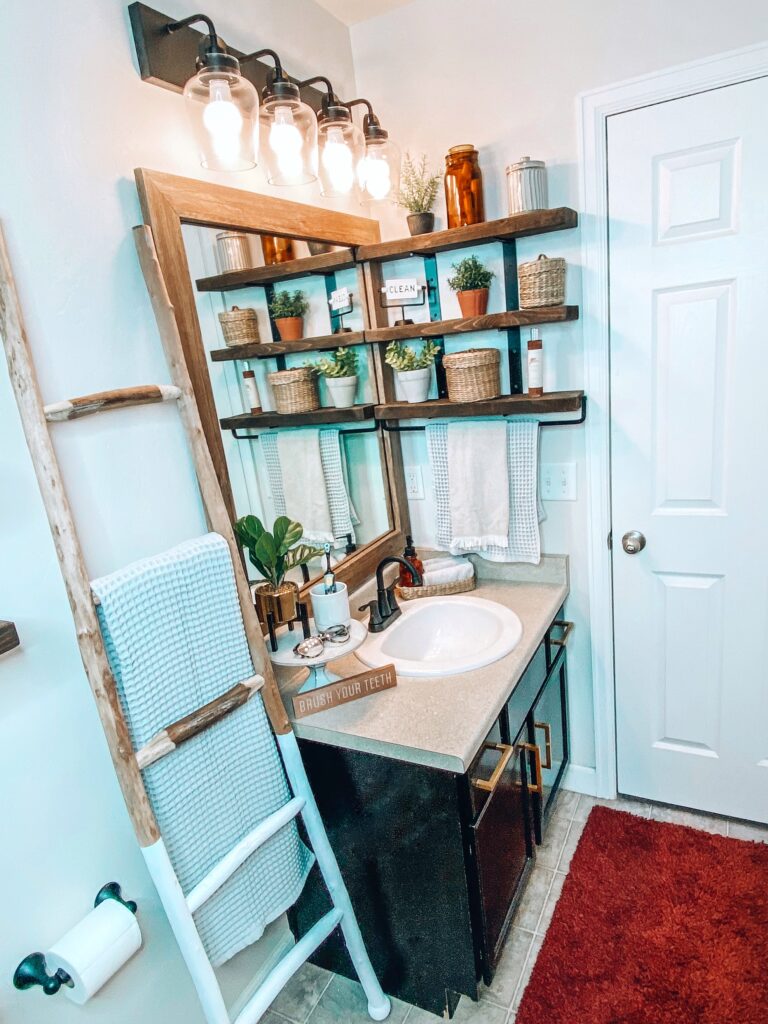
This task seemed really overwhelming at first, I am not a plumber and was determined to do this entire project with zero help because I wanted you to see that you can do it too. I found this faucet for such a good deal (I got it for under $40 in the black) it is soooo gorgeous and well made. I looked on YouTube for a tutorial on how to replace a faucet and just went from there. I told you, we can learn anything online these days and I promise you can do it! Things you will need: a bucket or bowl for under the sink to collect water from the pipe, WD-40 to loosen the components, plumbers wrenches, wine (to take the edge off LOL), a clothes pin for your nose ( I can’t unsmell what was in my pipes), elbow grease and patience. The new faucet I purchased had a matching plug which I highly recommend replacing, I was shocked because you push the stopper down to clog the sink and just push it to release. No more little pully to clog the drain (really brilliant). Look what a difference the new faucet made.
Step 3:Replace Hardware
My bathroom had builder grade everything and the drawer pulls were a basic silver which did match the old faucet, tp holder and towel racks. You will not believe what a difference it made replacing those cabinet and drawer pulls with some cute new ones (it’s so affordable too). I found mine on Amazon for under $16 for a pack of 5! I love the little accents of gold and think it looks so pretty contrasting to the wood tones. A couple tips, make sure you measure from hole to hole of your current pulls and order the save size. If you have drawers you may need to get a knob verses a pull. It’s so much easier to work with what you have rather than needing to drill new holes into your cabinet. These were shockingly easy to replace all you need is a drill (you could use a screw driver too).
Step 4: Frame Your Mirror
The mirror was something I struggled with, I wanted to make this project as easy as possible but still wanted it to look beautiful and different. Tearing down this mirror and then possibly needing to paint, fix drywall and then hang a new mirror was not an option for me. This mirror works great, it just needed something. I looked online at tutorials on how to frame a mirror and there are tons of options using affordable wood from the home improvement store. The problem is, t required measuring, cutting, staining… I just don’t have the time for that. Then one of my amazing followers on Instagram told me about MirrorMate! I had honestly never heard of them and was intrigued. They are custom mirror frames that said they were quick and easy to install. ( I was like, sign me up! lol) I followed the instructions online, measured my mirror and decided i wanted a more rustic looking frame to contrast with my dark wood vanity so I selected the color ‘Cherokee Barnwood’. It came in the mail super fast with everything I needed to install and I just put it together, peeled of the super sticky double sided tape and stuck it on my mirror. OMG what a difference, I am shook by this product and highly recommend, I am absolutely going to be ordering one for my master bath too. *I reached out to MirrorMate and got a code for you! Use code TARYN15 to save 15% at MirrorMate .
Step 5: Update Lighting
I am not going to lie to you, replacing a light fixture terrified me even more than working on plumbing. I turned to my old friend the interwebs to learn how to do it and I was shocked at how easy it is! I promise you, this was probably one of the easiest parts of the entire refresh! I can’t believe it’s taken me 35 years to learn how to replace a light fixture! Isn’t this black vanity light such a huge improvement?
Step 6: Swap Out Towel Hangers & TP Holder
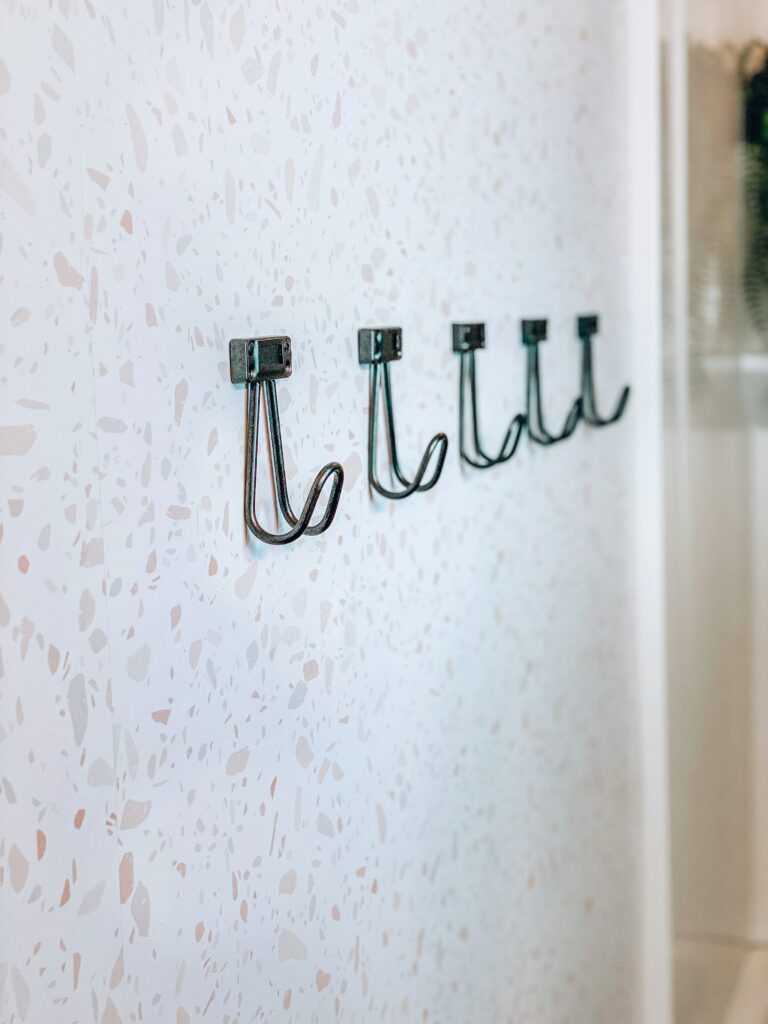
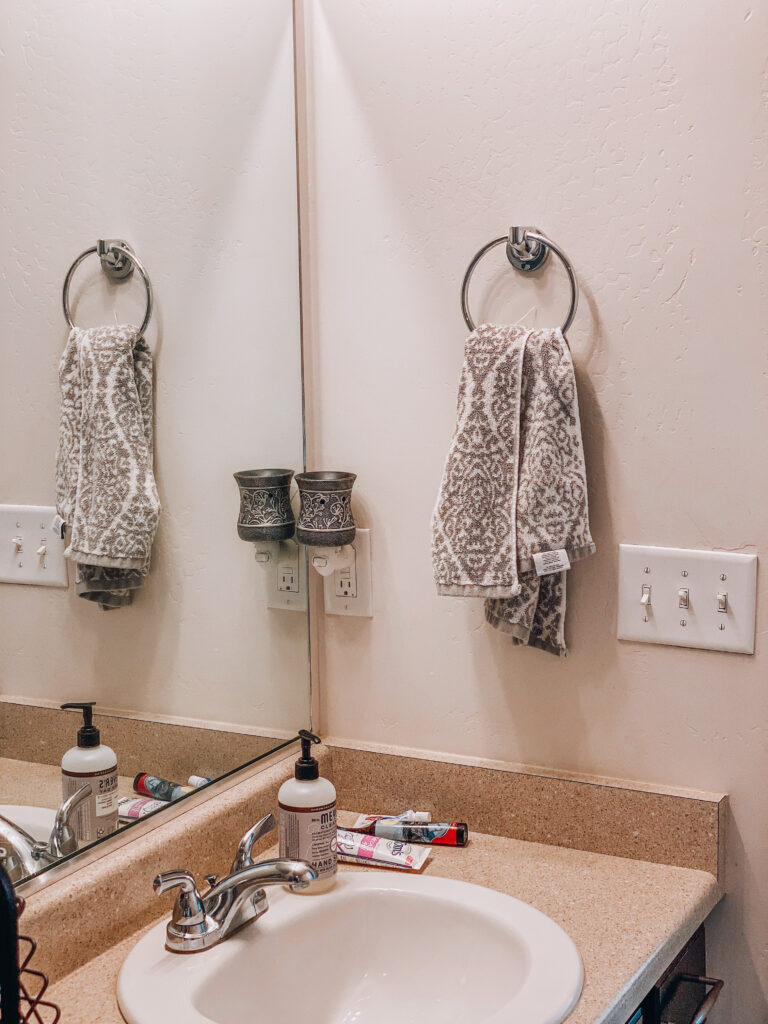
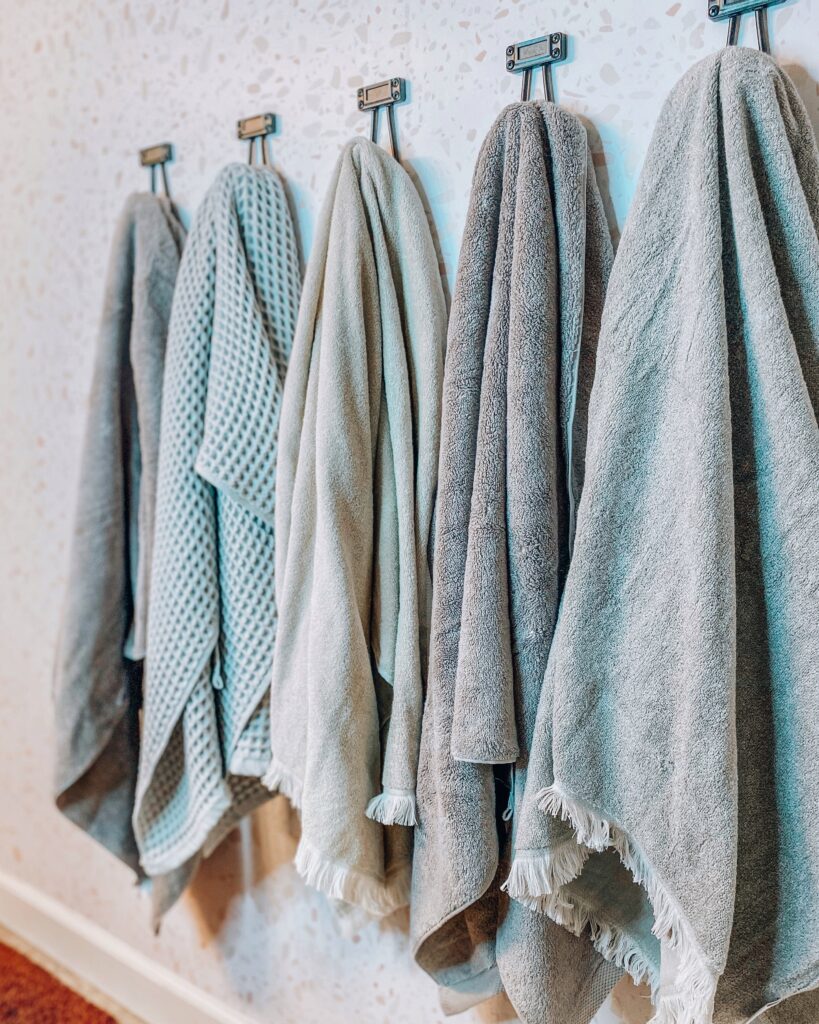
This probably is a given, since I replaced the light fixture, faucet and drawer pulls I needed to get rid of the old silver TP holder and towel hangers. It was really easy to get the old ones off the wall and you could just spray paint them black and reattach them but I wanted to go for a different vibe in here. I opted for these adorable black large hooks on the wall for towels. They just make such a statement in contrast to my wallpaper and I love the simplicity. Instead of a traditional towel hanger next to the sink I wanted some more functional storage options and this shelf was super easy to install. I love that it has a built in rod to hang our hand towels. The TP holder was really affordable and an easy update that just makes a big difference too.
Step 7: Mr. Clean
Okay this step may be be a given but it’s pretty important. Deep clean the walls, the outlets, light switches, baseboards, floors, cupboards, sink and bathtub. I am absolutely obsessed with the magic eraser for cleaning, I pretty much use them to clean everything. They get soap scum off of the bathtub, scuffs off the wall, and can make your baseboards look brand new ( I also use the magic eraser to clean my sneakers).
Step 8:Replace Towels & Rugs
Am I the only one that has two sets of towels? I have the “Nice Towels” and the towels I let my kid use. LOL!! I recently upgraded all of our towels from some of the old mismatched ones we used previously. I was so excited when I saw the CASALUNA Line drop at Target and ordered one of each of their towels to see which I liked best before ordering more. I want to say that I am super impressed with this line, it is clean, simple, luxurious and really the line really brings a spa like experience to the home. Really digging it. Anyway, I wanted to share my fave towels from the line for you in case you are in the market. I have two categories decorative and everyday cozy. I will share my two picks for decorative accent towels first. I love these fringe towels to add some texture contrast. I have a couple hand towels and bath towels in the beige and grey colors. They are a thinner super soft material so they aren’t warm for after the shower but wonderful for a hand towel and look so gorgeous layered on a towel rack. The waffle knit towels are just so beautiful, I will say that I find these to snag easy (mostly on my rings) but I still love them because of the texture they add to my bathroom. Super soft and lightweight too. My pick for the everyday cozy category is these plush organic towels. Wowzer, they exceeded all my expectations. so warm and cozy, big enough size to actually wrap all the way around me (Size inclusive towels, is that a thing?)! Seriously luxurious and wash so well.
Step 9: Simple Shower Curtain Upgrade
I have always opted for patterns, pictures or really busy shower curtains in the past and really wanted something simple, pretty and something to tie in the warm terracotta tones of my wallpaper. This chambray curtain brought it all together. It is light and airy and the color is even more gorgeous in person. So warm and doesn’t distract from the rest of the room. I also added a new black shower curtain rod and black shower curtain hangers to tie in the black from the rest of the space.
Step 10: Functional Accent Pieces
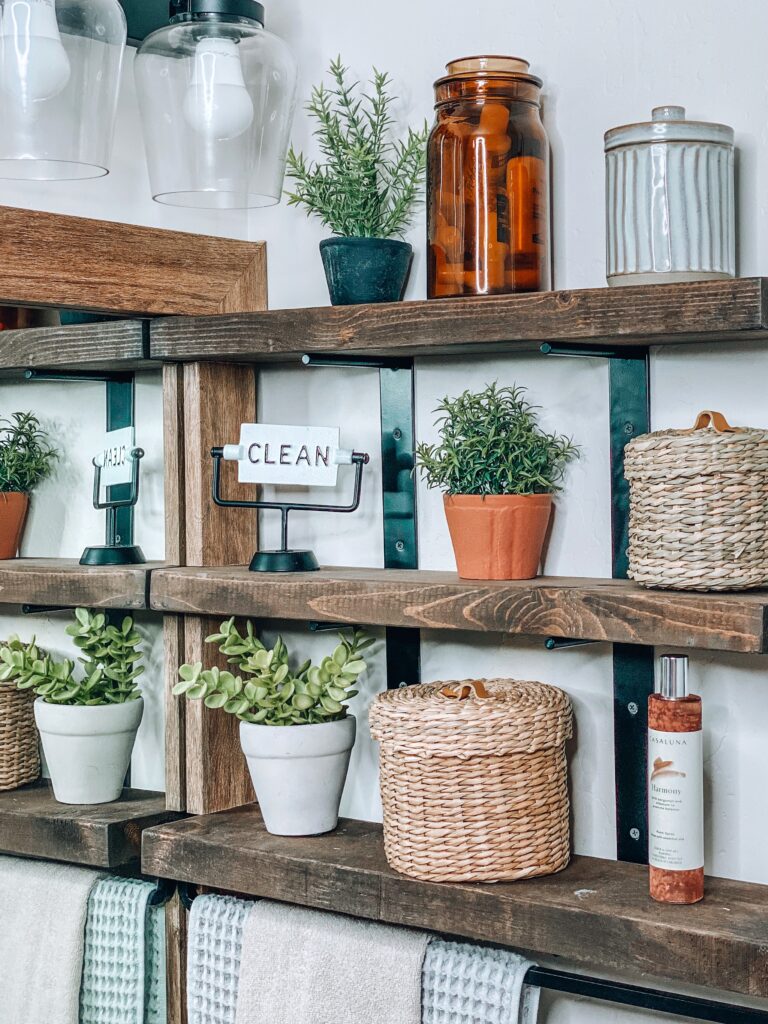
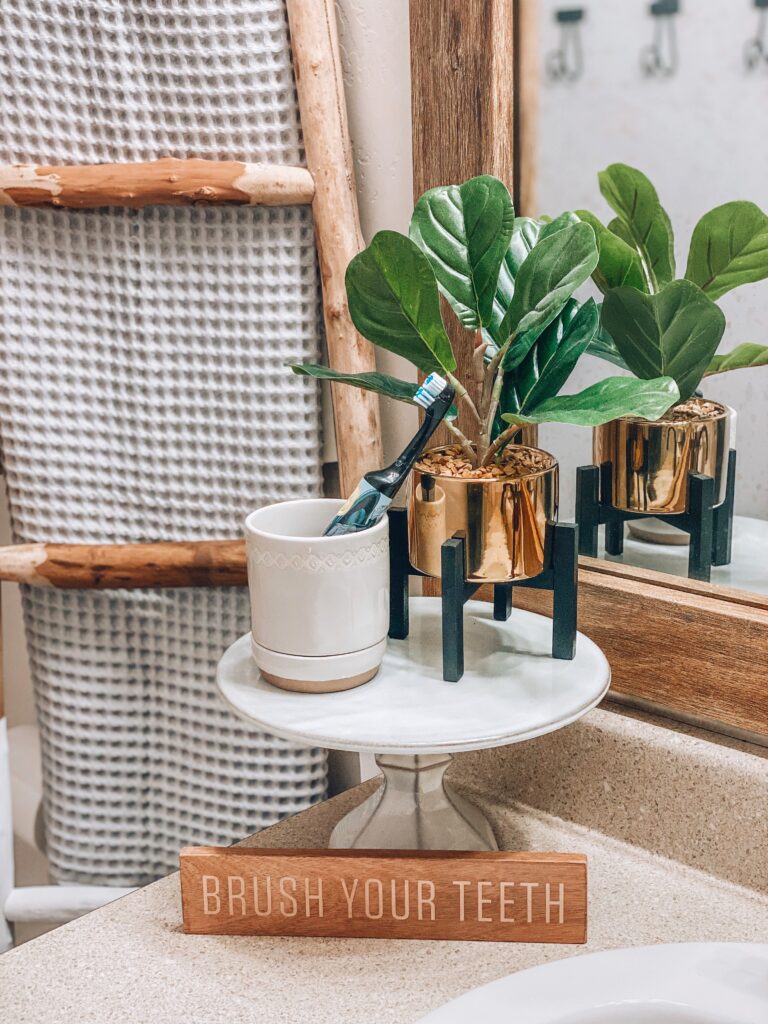
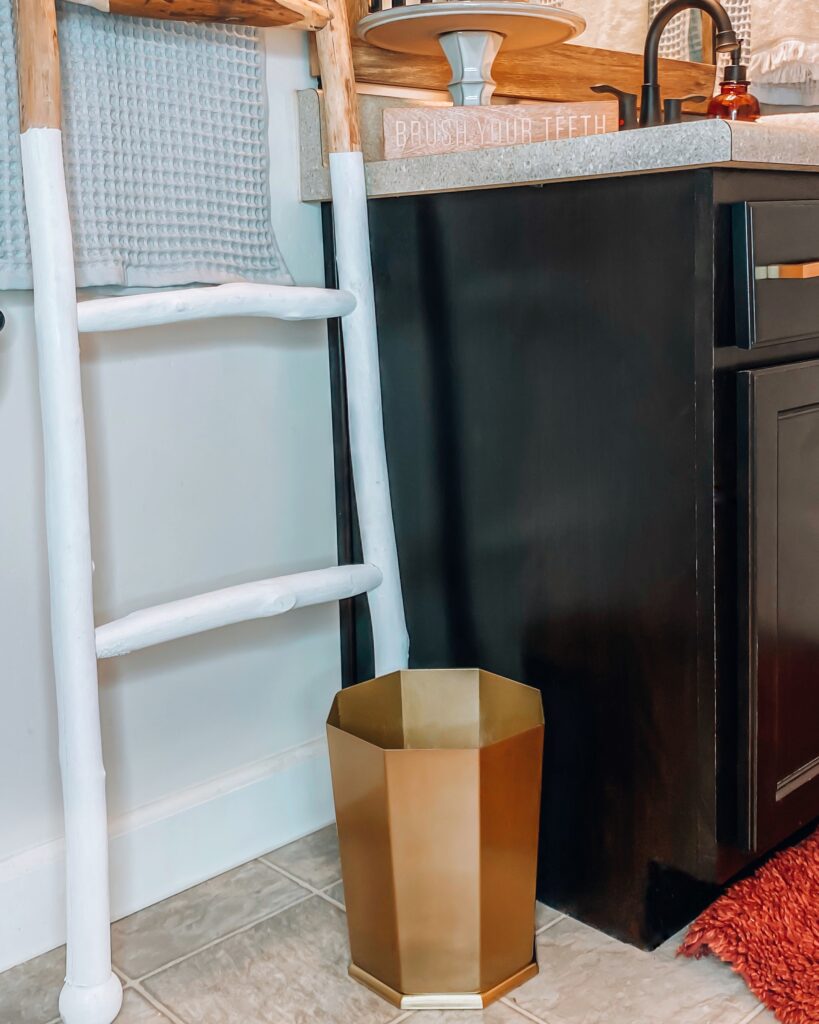
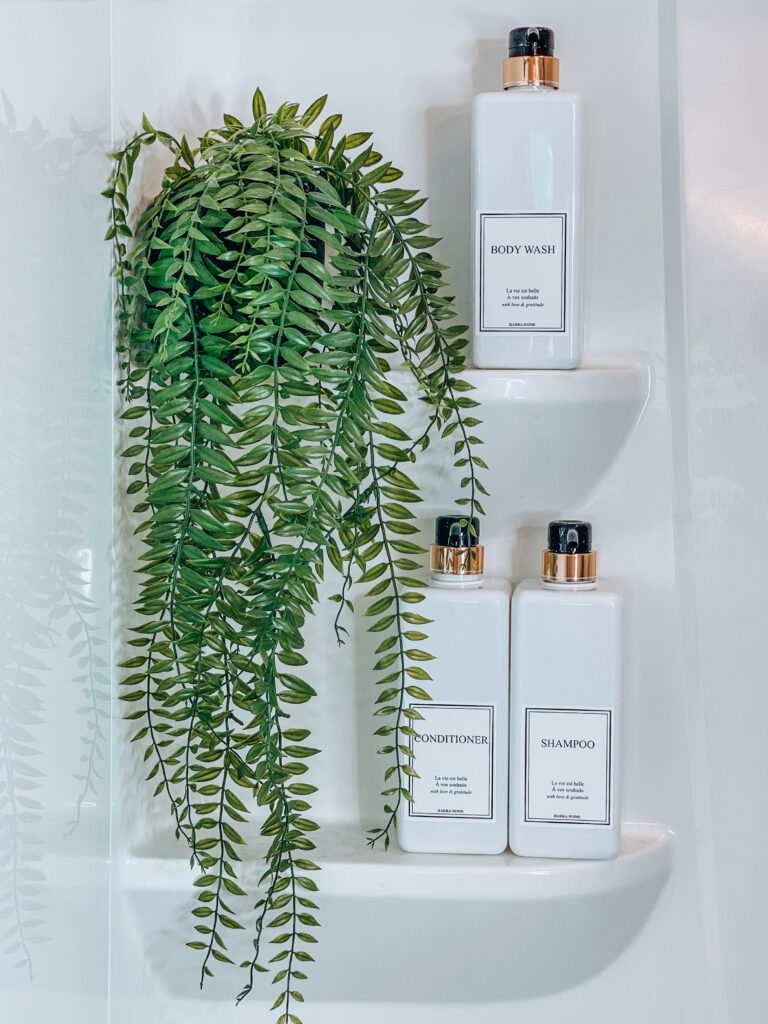
My favorite part, adding the accents and finding the perfect spot to place them. I used a lot of jars, baskets and functional decor for storage in this bathroom. Hiding cotton swabs, hygiene products and guest supplies so they are easily accessible but tucked away. Also had to show a close up of my adorable gold trash can because, trash cans just don’t get enough love. lol
Before & After
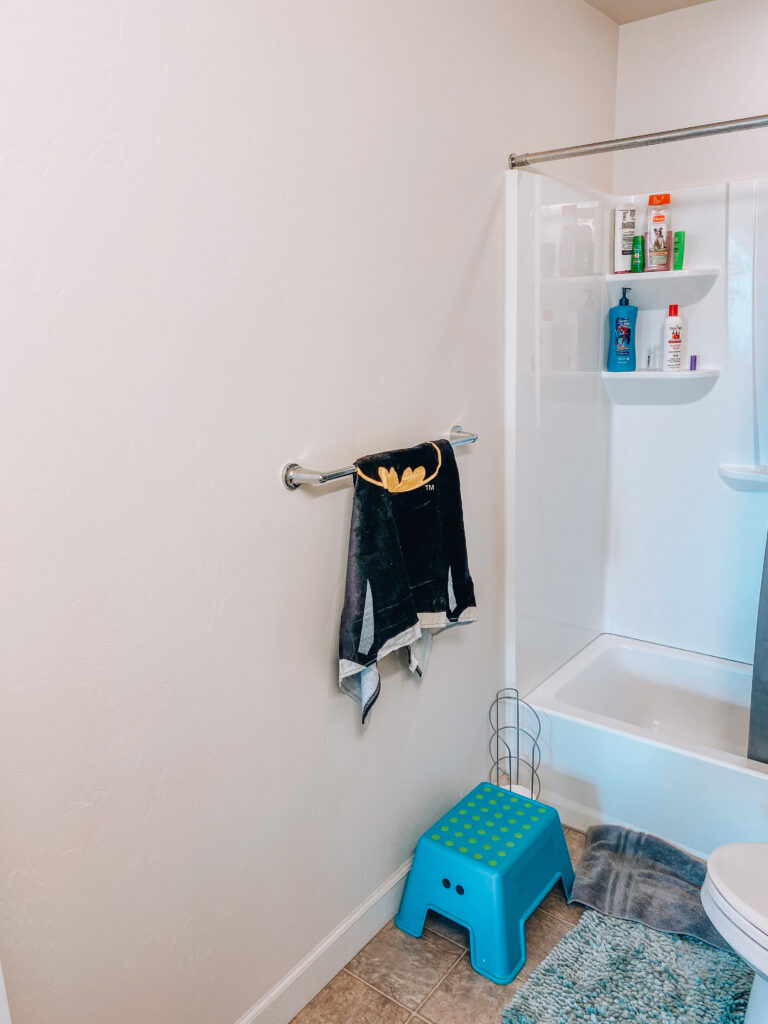
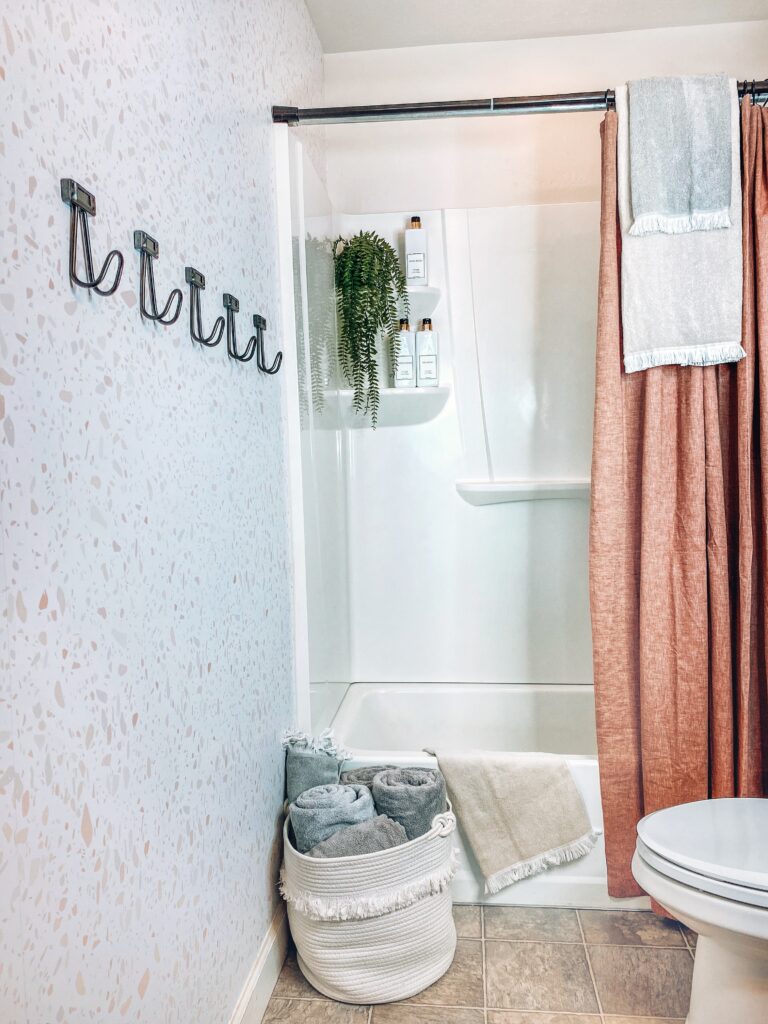
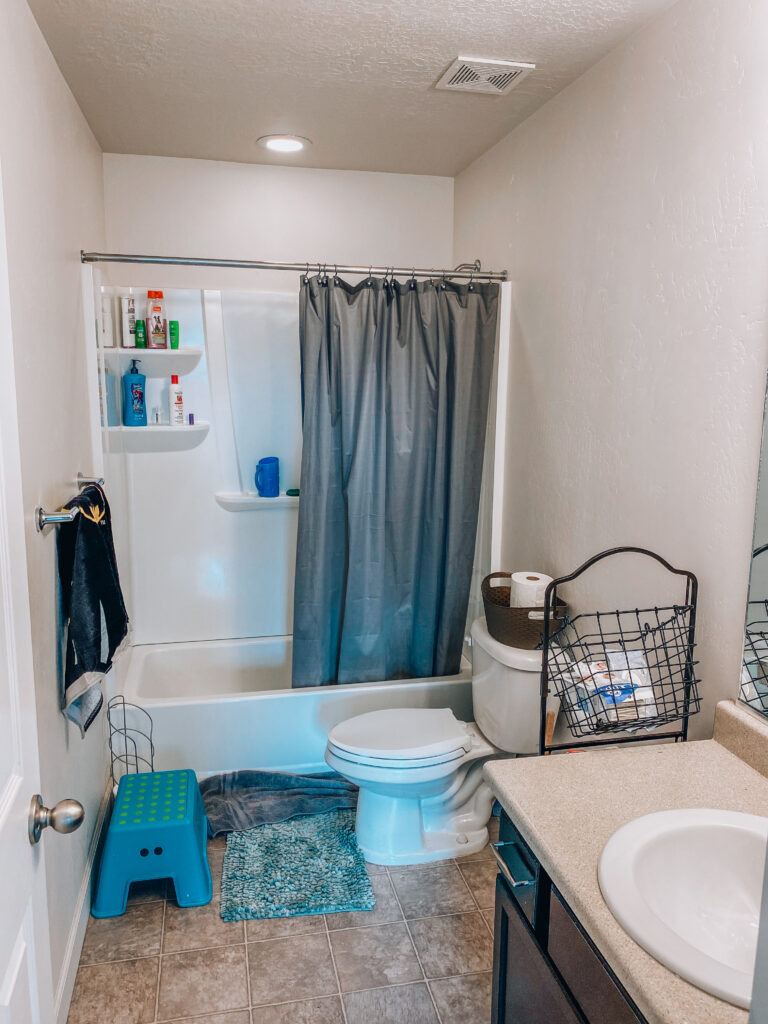
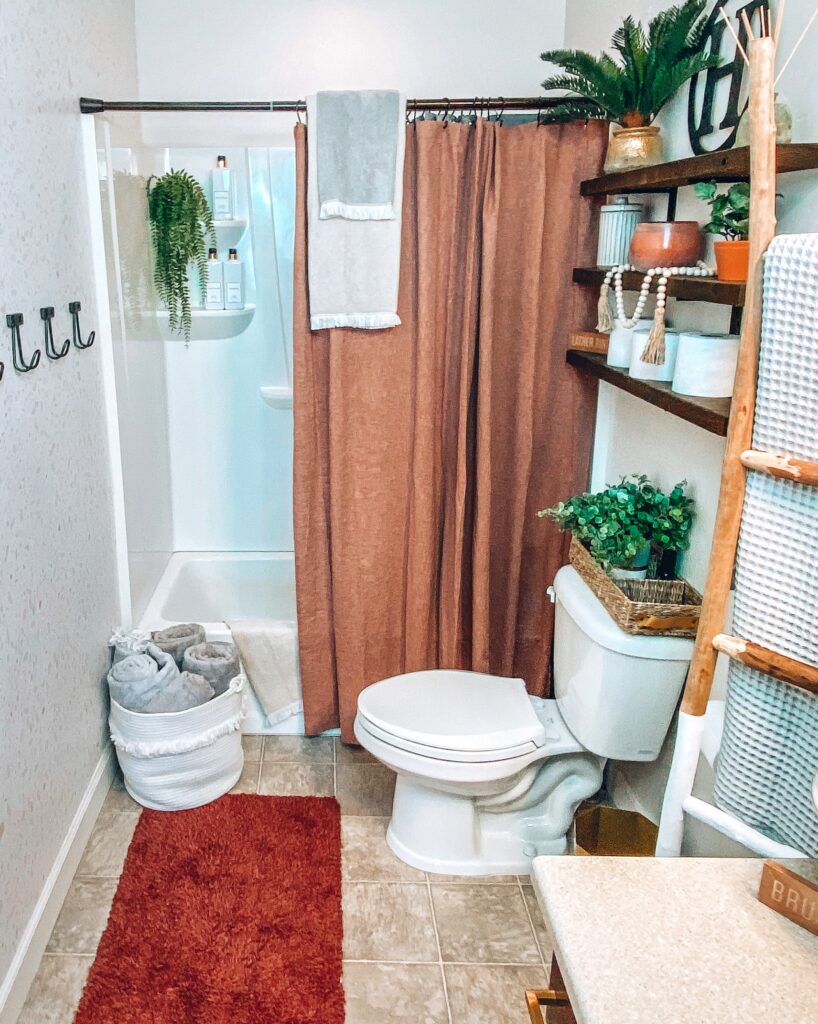
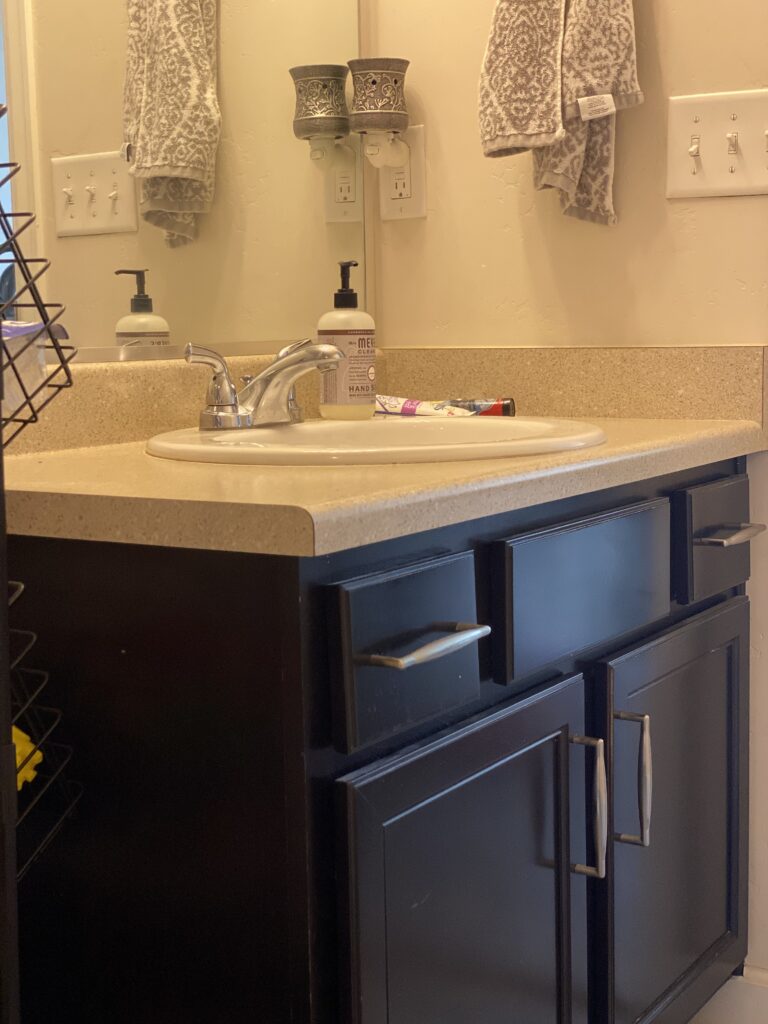
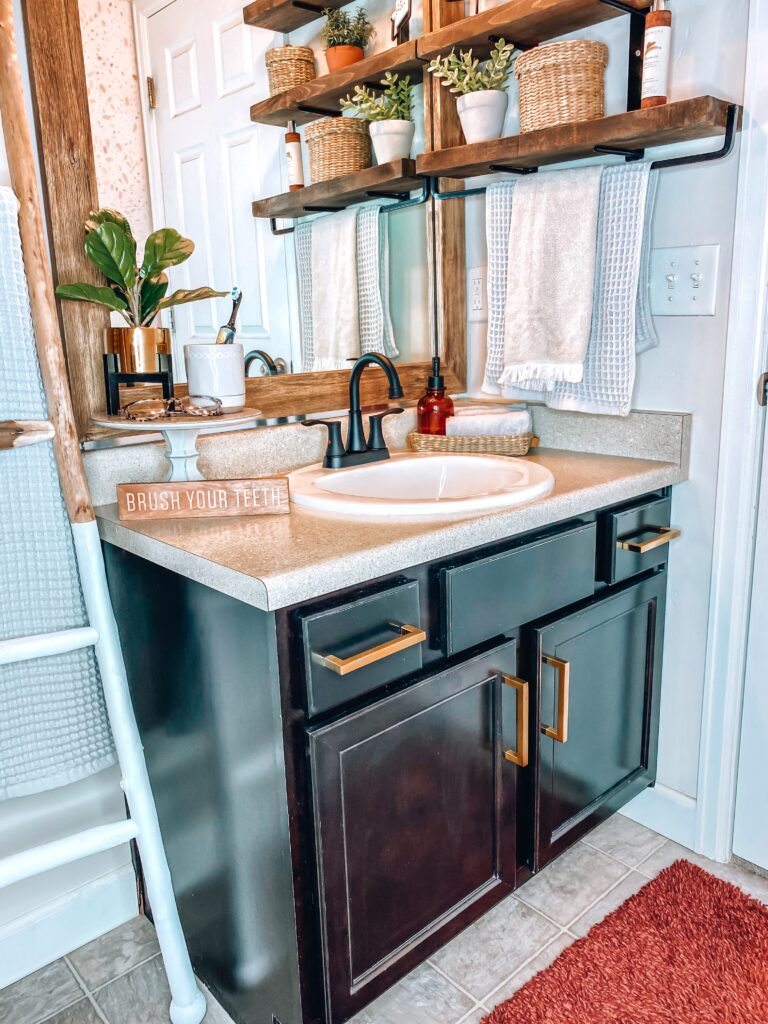
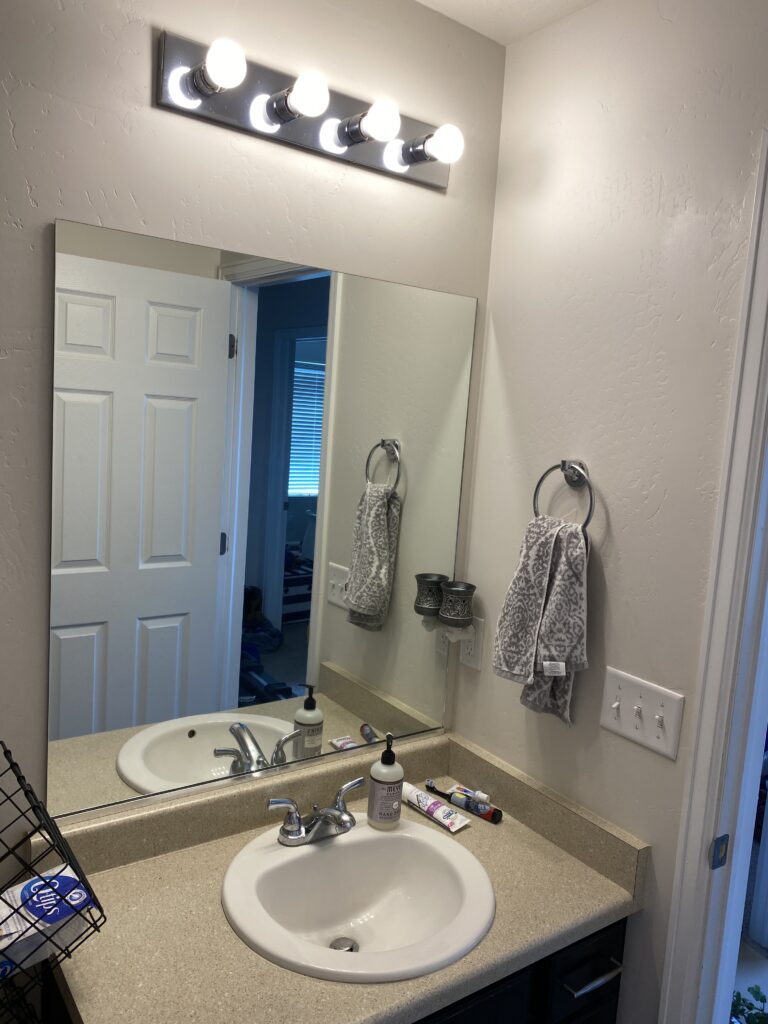
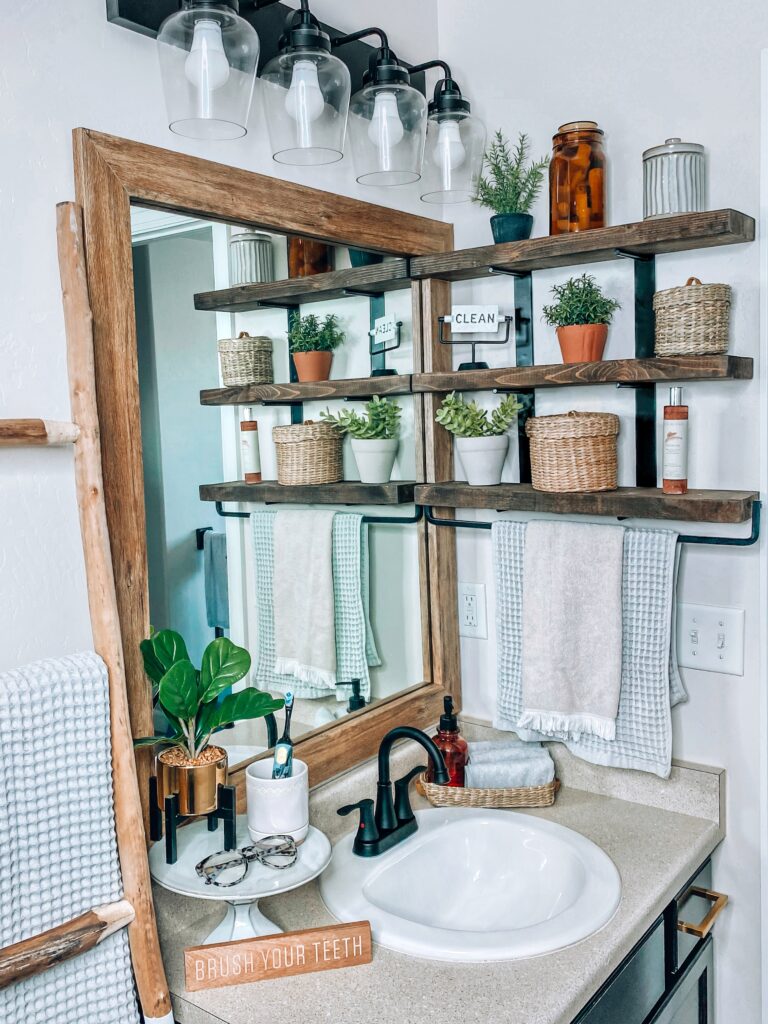
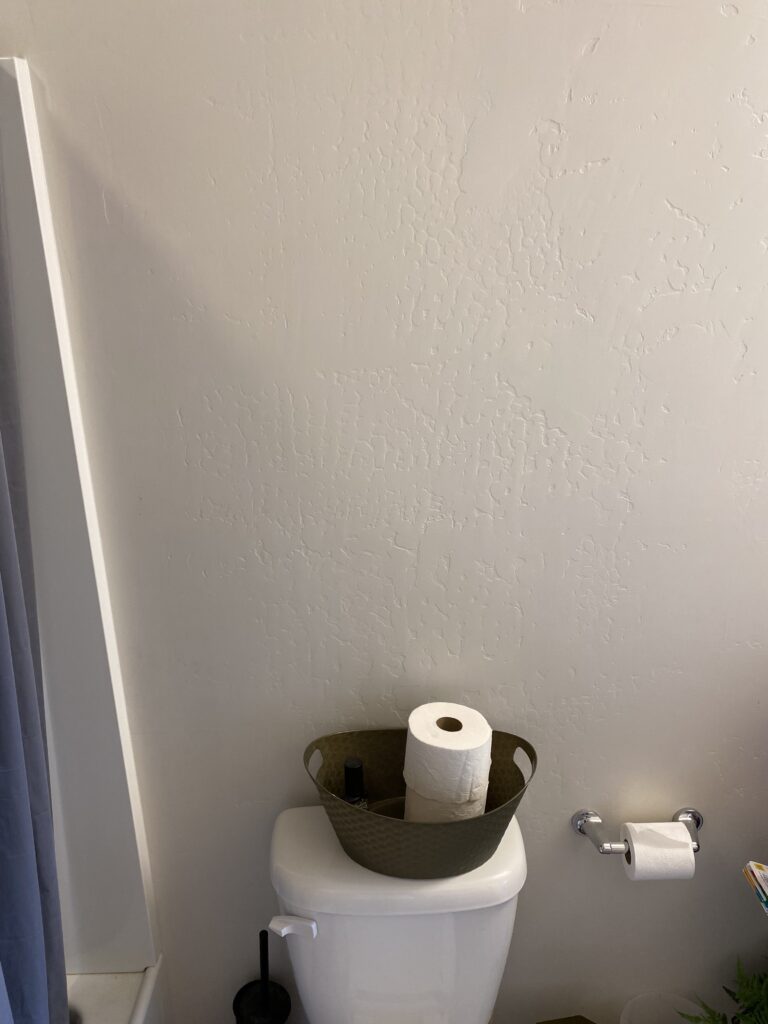
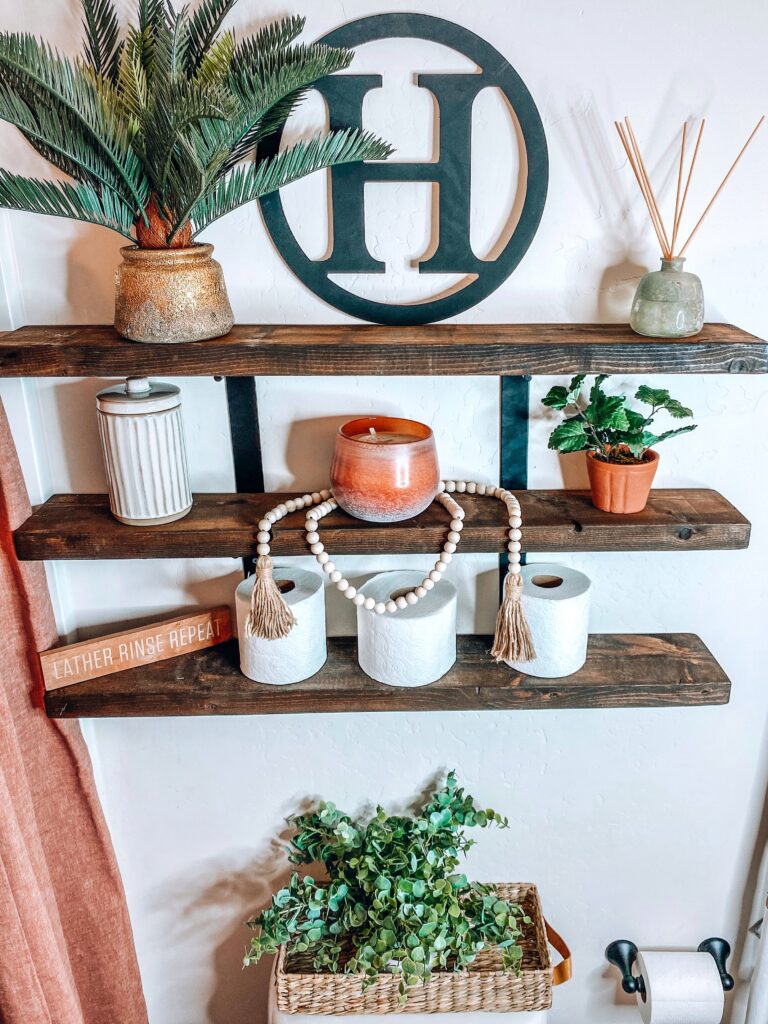
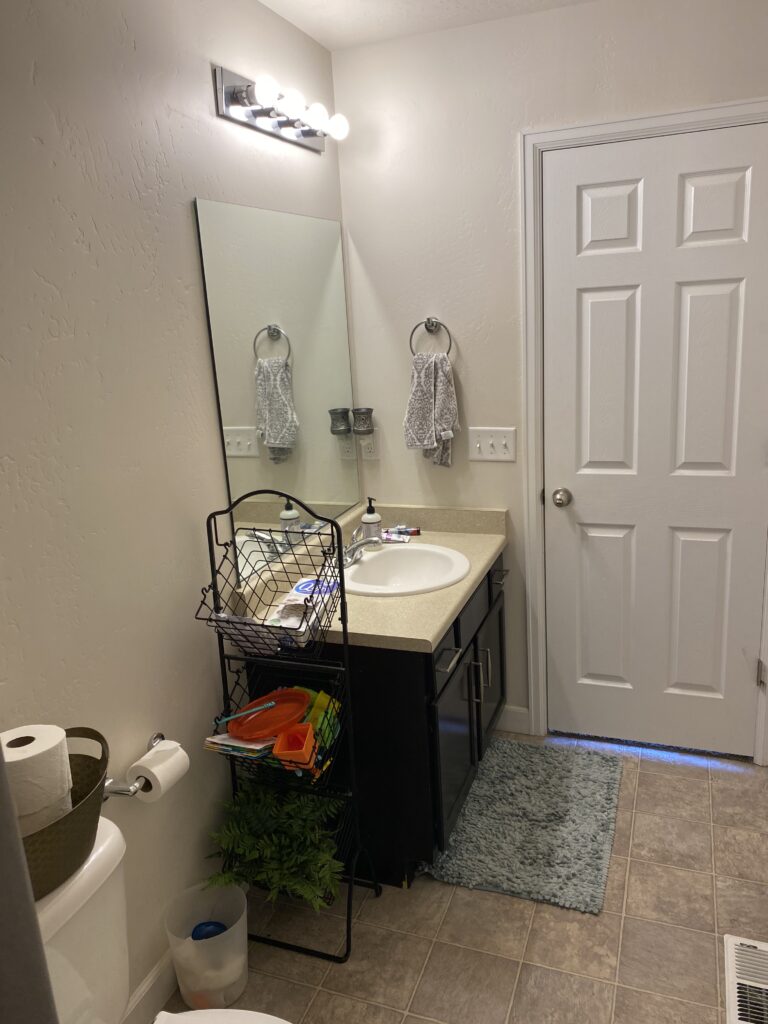
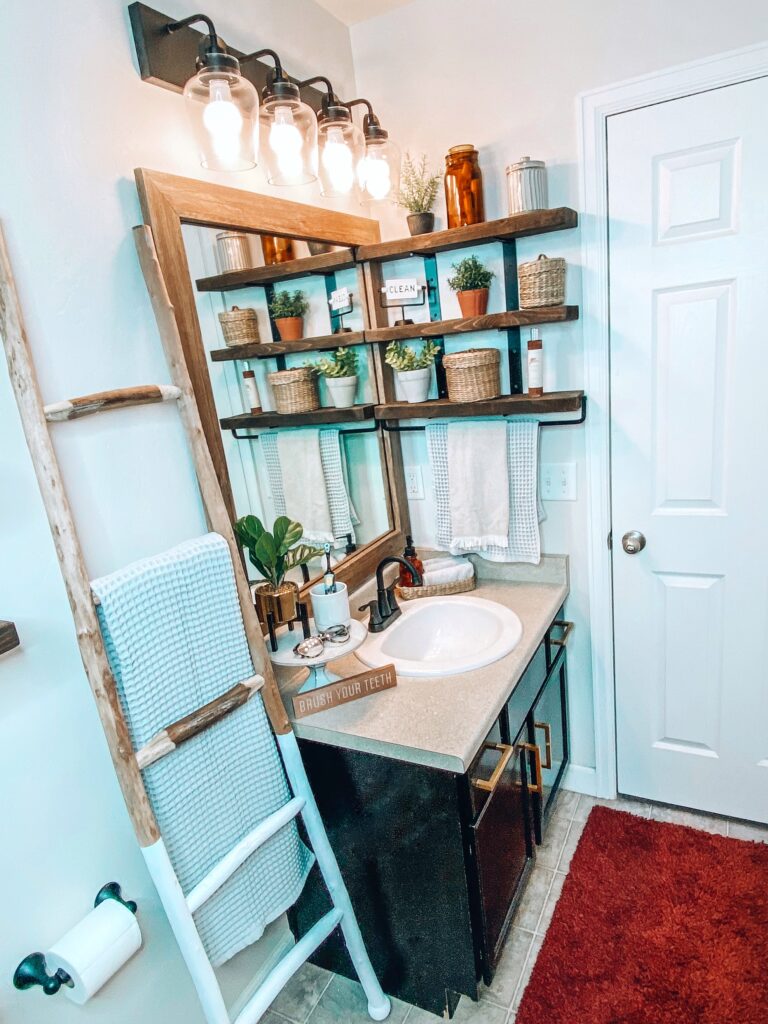
Phew, it feels so good to finally have this project complete! I really love how bright and warm this space turned out. Would love to hear what you think about this refresh below!



Looks so pretty, love the tip about the mirror frame ❤️
Love this!! Please link the black lighting ?
Your bathroom’s glow up is better than most people’s glow ups after finishing middle school. This looks great!